How to Hatch and Raise Quail for Your Homestead
Raising quail can be a rewarding and enjoyable experience for anyone just getting started with poultry and livestock. These small, hardy birds are relatively easy to care for, making them an ideal choice for beginners. I'll cover everything you need to know to successfully hatch bobwhite quail from eggs and raise them on your property.
Why Choose Quail?
Delicious nutritious eggs!
With proper nutrition and daylight, one quail can lay up to 100 eggs a year once they reach between 21 - 25 weeks of age.
Coturnix, Bobwhite and other quail (Colinus virginianus) are native to North America and are known for their distinctive call, nutritious eggs, and excellent meat quality. They are relatively low-maintenance birds and are well-suited for both small-scale homesteads and larger properties. Some of the benefits of raising bobwhite quail include:
Hardiness: For the most part, quail are resilient birds that can adapt to various climates and conditions.
Fast Growth: Quail grow quickly, reaching maturity in just 6-8 weeks.
High Reproduction Rate: A single hen can lay up to 200 eggs per year, depending on the type of quail. Coturnix are known to be eggscellent for egg production :P
Small Space Requirement: Quail require less space compared to other poultry, making them ideal for small homesteads. I’ve seen entire quail productions in people’s garages!
Dual Purpose: Quail can be raised for both meat and egg production, and they can also be released for hunting or conservation purposes.
Equipment Needed
Before you begin hatching and raising quail, you'll need to gather some essential equipment:
Incubator
Make sure when it is close to hatching time to turn off the auto-rotation on your incubator so the chicks will not get injured.
An incubator is crucial for hatching quail eggs. Look for an incubator with the following features:
Temperature Control: The incubator should maintain a consistent temperature of 99.5°F (37.5°C).
Humidity Control: Humidity should be around 45-50% during incubation and increased to 65-70% during the last three days before hatching.
Automatic Egg Turner: An automatic egg turner ensures that the eggs are turned regularly, which is essential for proper embryo development.
I use this incubator from Harris Farms. I have raised everything from poultry to hatching out and rehabbing wild songbirds and it has performed great. It’s easy to program and all you need to do is just add a little water to it every few days depending on your eggs humidity needs.
Brooder
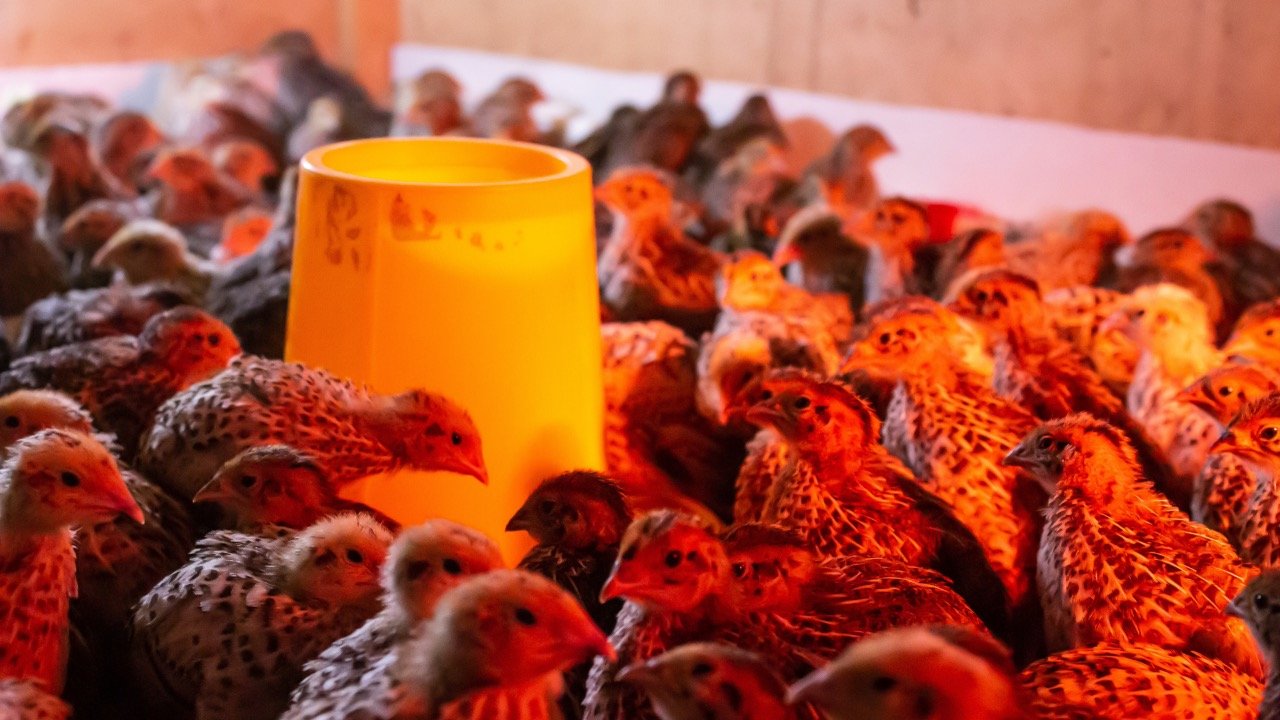
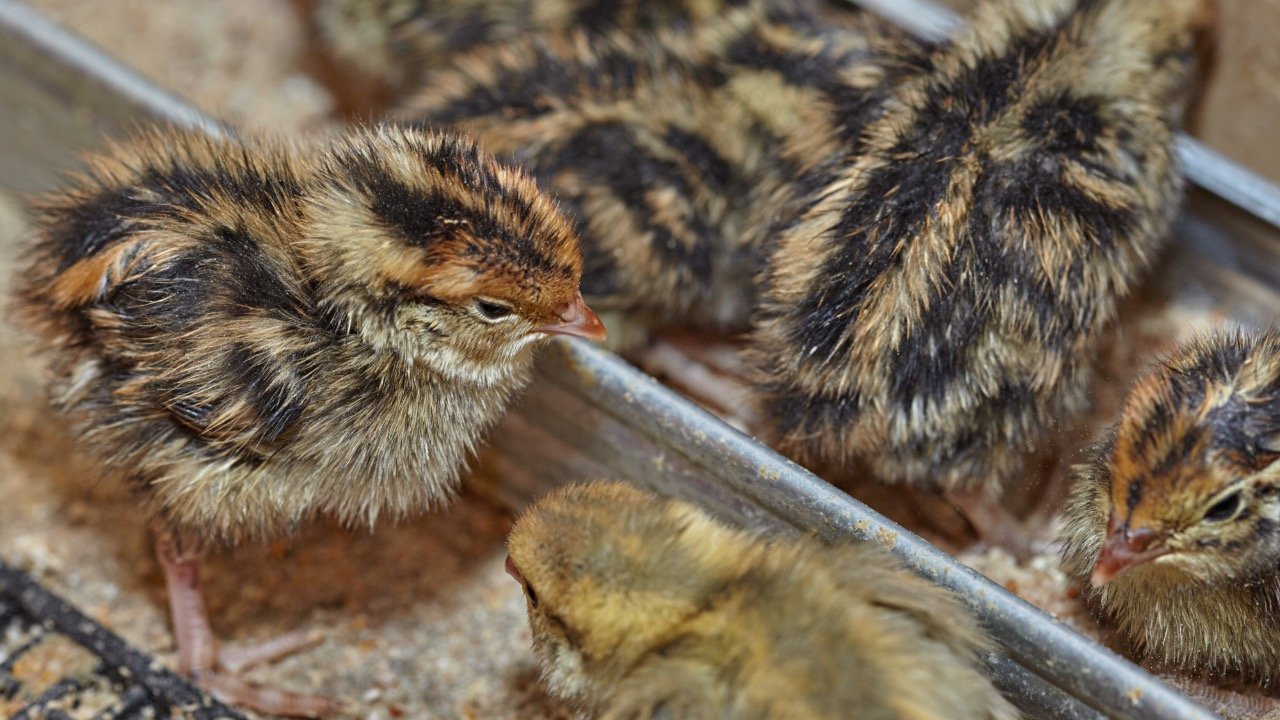
Incubators and brooders keep chicks cozy and warm
A brooder is a heated enclosure where the quail chicks will be kept for the first few weeks of their lives until they have fully feathered out.
Container: I like to use large transparent plastic storage totes with the lid off. They are easy to sanitize and carry. Once the chicks are strong enough to jump or fly out, make sure you put a lid on, but with adequate air holes cut into it. Each bird should have about a square foot of space minimum once mature. Overcrowding can lead to aggression.
Heat Source: A heat lamp or brooder plate to maintain a temperature of 95°F (35°C) during the first week, gradually decreasing by 5°F each week until the chicks are fully feathered. Make sure to allow enough space in the enclosure so they can leave the heat source as they please so they don’t get too hot.
Thermometer: To monitor the temperature inside the brooder.
Bedding: Use non-slip bedding such as paper towels or wood (pine works great) shavings (available at most pet or farm supply stores.
Feeders and Waterers: Small, shallow feeders and waterers designed for quail chicks.
Enclosure
While the cage in the image on the left is very practical and sanitary, there are way too many quail in such a small space. I prefer to raise mine in large bins where the birds can walk on soft substrate and have much more space to move around.
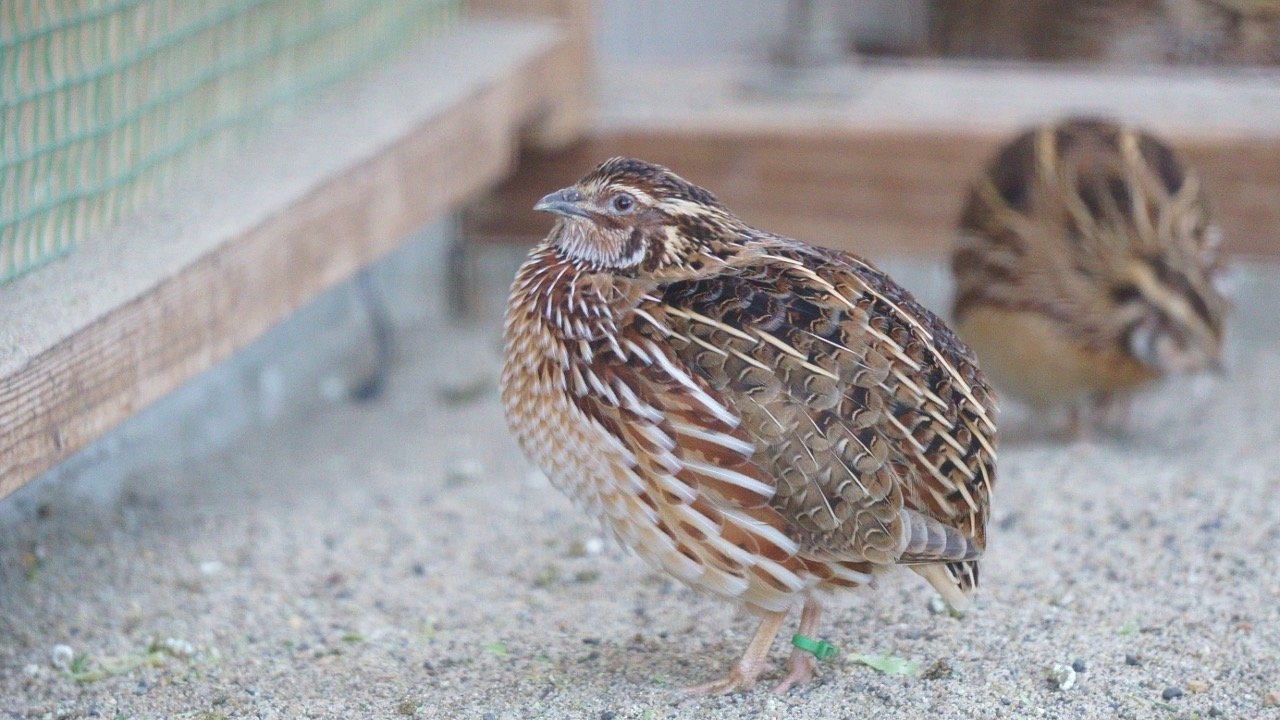
The quail raised in outdoors on the right is ideal in you have the space where the quail can be raised in a more natural environment, but be sure the enclosure is secure from predators, drafts and has adequate hiding spaces.
Once the chicks are fully feathered and can regulate their own body temperature, they can be moved to a larger enclosure. This can be outdoors or indoorEnsure the enclosure has:
Adequate Space: Provide at least 1 square foot of space per bird. Overcrowding can lead to aggression.
Secure Fencing: Use hardware cloth or welded wire to prevent predators from getting in.
Shelter: Provide a weatherproof shelter to protect the quail from rain and extreme temperatures.
Perches and Hiding Spots: Include perches and hiding spots to encourage natural behaviors and reduce stress.
Feed and Water
Provide a balanced feed formulated specifically for game birds or quail. Fresh, clean water should be available at all times. Consider using nipple waterers or automatic drinkers to keep the water clean and reduce spillage.
How to raise Quail from hatching egg to adulthood
Selecting Eggs
Start by purchasing fertile bobwhite quail eggs from a reputable breeder. Look for eggs that are clean, uniform in size and shape, and free from cracks or deformities.
Setting Up the Incubator
Preheat the Incubator: Set the temperature to 99.5°F (37.5°C) and the humidity to 45-50%. Allow the incubator to stabilize for at least 24 hours before adding the eggs.
Mark the Eggs: Use a pencil to mark the eggs with an "X" on one side and an "O" on the other. This will help you keep track of which side is up when turning the eggs manually (if you don't have an automatic egg turner).
Place the Eggs: Arrange the eggs in the incubator with the pointed end facing down. Ensure there is enough space between the eggs for proper air circulation.
Turn the Eggs: If you are turning the eggs manually, do so at least three times a day to prevent the embryo from sticking to the shell. If you have an automatic egg turner, it will handle this task for you.
Monitoring and Adjusting
Temperature and Humidity: Check the temperature and humidity levels daily to ensure they remain within the recommended range.
Candle the Eggs: After 7-10 days, use an egg candler or a bright flashlight to check for signs of embryo development. Discard any infertile or non-developing eggs.
Lockdown Period
Increase Humidity: Three days before the expected hatch date (around day 21), increase the humidity to 65-70%.
Stop Turning the Eggs: If you are using an automatic egg turner, remove it and lay the eggs flat on the incubator floor.
Prepare the Brooder: Set up the brooder with the heat source, bedding, feeders, and waterers, so it's ready for the newly hatched chicks.
Raising Bobwhite Quail Chicks
The First Week
Temperature: Maintain the brooder temperature at 95°F (35°C) for the first week.
Feed and Water: Provide a high-protein game bird starter feed (28-30% protein) and clean water. Bowls for water are NOT recommend. This tends to encourage the chicks to pile on top of each other in the water bowl and the ones on the bottom drown or get crushed. Use a chick waterer where they can only fit their heads in to get a drink.
Observe the Chicks: Monitor the chicks closely for any signs of distress, such as huddling under the heat lamp (too cold) or panting and staying away from the heat source (too hot).
Gradually Decrease Temperature
Reduce the brooder temperature by 5°F each week until the chicks are fully feathered (around 6 weeks old). By this time, they should be able to regulate their own body temperature and can be moved to their outdoor enclosure.
Enclosure
Space and Shelter: Ensure the enclosure provides at least 1 square foot of space per bird and includes a weatherproof shelter. The roof of the enclosure should either be very short (10 inches maximum) or very high (6 feet) due to quail’s natural tendency to leap straight up when startled. If the roof is the wrong height, they can very easily break their necks on the roof. Anything in between 10 inches to 5 feet is not a safe height.
Predator Protection: Secure the enclosure with hardware cloth or welded wire to keep predators out. Bury the fencing at least 6 inches deep to prevent digging predators.
Natural Enrichment: Add perches, hiding spots, and vegetation to encourage natural behaviors and reduce stress.
Maintaining a Healthy Quail Flock
Regular Health Checks
Observe Behavior: Regularly observe your quail for any signs of illness or distress, such as lethargy, lack of appetite, or abnormal behavior.
Inspect for Parasites: Check the quail for external parasites such as mites and lice. Treat the birds and their environment if parasites are found.
Cleanliness and Sanitation
Clean the Enclosure: Regularly clean the quail enclosure to remove droppings, uneaten food, and soiled bedding.
Sanitize Feeders and Waterers: Clean and sanitize feeders and waterers regularly to prevent the spread of disease.
Nutrition
Balanced Diet: Provide a balanced diet formulated specifically for game birds or quail. Supplement with fresh greens, mealworms, and other healthy treats.
Fresh Water: Ensure the quail have access to fresh, clean water at all times. Consider using nipple waterers or automatic drinkers to keep the water clean and reduce spillage.


