Breaking Ground on My 30 x 60 Workshop
After years of dreaming and planning, I’m finally breaking ground on my 30 x 60 workshop. This space will be my personal sanctuary, a place where I can indulge in my hobbies, tinker with projects, and escape the hustle and bustle of everyday life. It’s been a long road to get to this point, filled with research, planning, and decision-making. In this blog post, I’ll share my experiences so far, from the initial planning stages to the ground-breaking, and provide insights into the early stages of construction.
Finding the Right Builder
One of the most critical decisions I had to make was choosing the right builder for this project. I interviewed several contractors, ranging from general contractors to specialized pole barn builders. While there were plenty of options, I was looking for someone who could offer the quality and craftsmanship of a custom home builder with the efficiency and cost-effectiveness of a pole barn specialist.
Ultimately, I settled on a local custom home builder who also specializes in metal barns with residential features. They offered a competitive price while promising the quality and attention to detail I was seeking. It was a perfect match!
Site Prep and Building Footprint
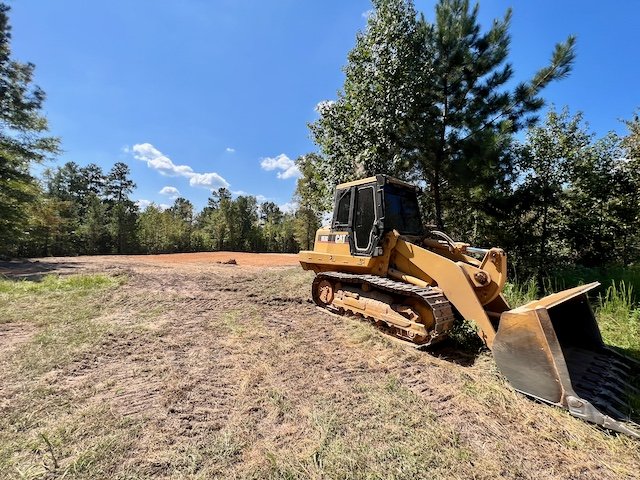
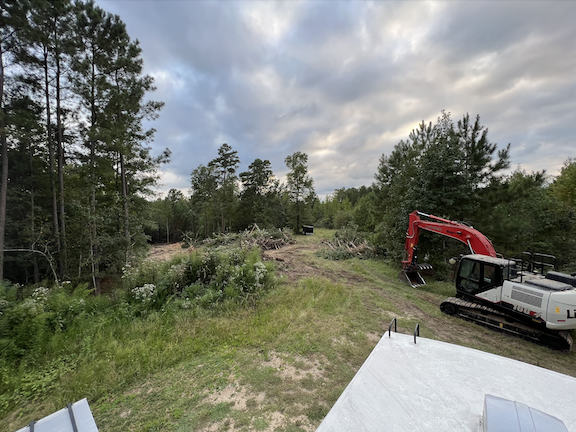
With the builder on board, the next step was to prepare the site. This involved clearing the area of any debris, trees, or rocks. My property required a large dozer to do this as the ground was stubbornly hard and there were some decently sized trees.
Once the site was cleared and prepped, it was time to flag off the building footprint. This is a crucial step in ensuring the building is positioned correctly and accurately.
I worked closely with the builder to determine the optimal placement of the workshop. We considered factors such as sunlight, drainage, and access to utilities. Once the location was determined, we used marking flags to outline the perimeter of the building.
Grading the Site
After the building footprint was marked, the next step was to grade the site. This involves creating a level surface for the building to sit on. We also had to bring in some clay dirt that would hold better than the sandy soil that was in the area.
Grading can be a time-consuming (and expensive!) process, but it’s a critical step in the construction process. A properly graded site will help to prevent foundation issues due to improper drainage and ensure the long-term stability of the building.
Pole Installation
With the site prepared, it was time to start the actual construction. The first step is to install the plumb and level poles that will form the skeleton of the building. These poles are typically made of treated 6 x 6 lumber, mounted in metal brackets buried in cement pillars and are buried deep into the ground for stability.
Cement Install
Once the poles are in place, the next step is to install the cement floor. For my workshop, I opted for a concrete slab with radiant heat. This will provide a warm and comfortable working environment during the colder months.
The concrete installation process involves preparing the ground, laying down a vapor barrier, and then pouring the concrete. The concrete needs to be properly cured to achieve the desired strength and durability.
Conclusion
While these are just the initial stages of the construction process, it’s been an exciting journey so far. I’ve learned a lot about the construction process and have gained a deeper appreciation for the skilled tradespeople involved. In my next blog post, I’ll provide updates on the progress of the building, including the installation of the walls, roof, and doors.


